Friday, November 8, 2024
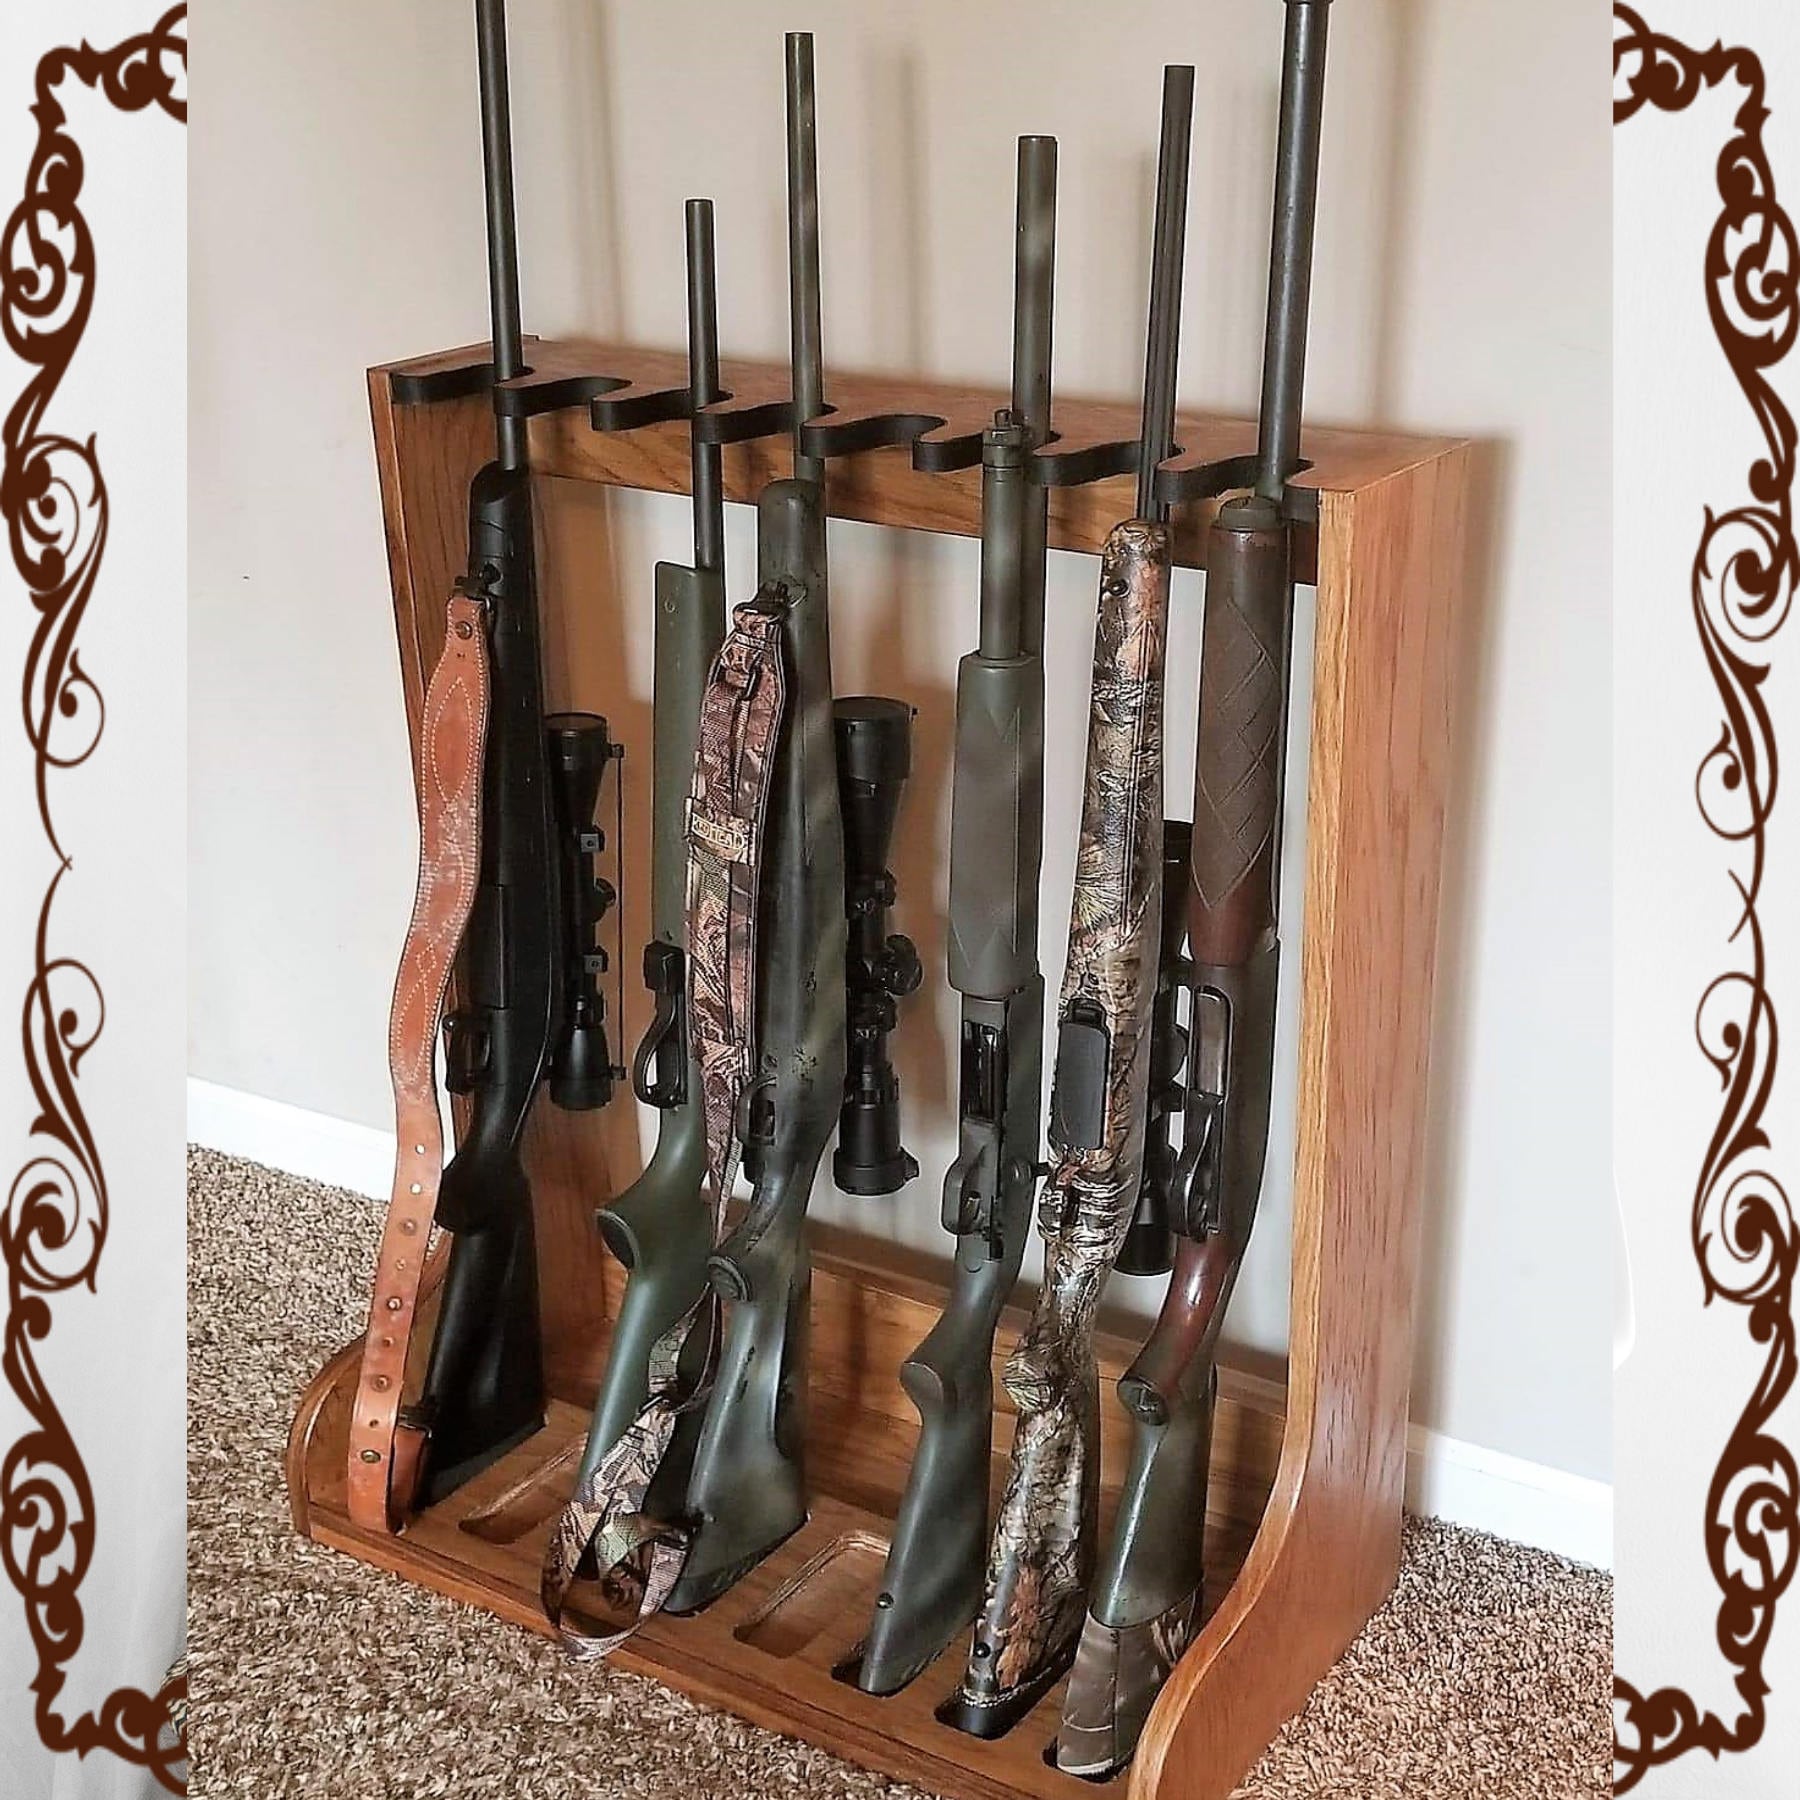
Diy wooden gun cabinet with a vintage design: how to build it

For firearm enthusiasts seeking a safe and stylish storage solution, a vintage-inspired wooden gun cabinet offers both functionality and aesthetic appeal. This guide provides a comprehensive blueprint for building a bespoke cabinet, capturing the charm of bygone eras while ensuring secure firearm storage.
Materials:
Lumber: Select high-quality, durable wood for the cabinet frame. Consider hardwoods like oak, walnut, or cherry for longevity and natural beauty. Pine or cedar can be used for the shelves and interior components.
Plywood: Choose a sturdy plywood (1/2" or 3/4" thick) for the cabinet's back, bottom, and interior shelves.
Hardware: Invest in sturdy hinges, a robust latch, and a quality lock with multiple keys. Consider decorative brass or iron accents for a vintage touch.
Finishing Supplies: Choose a stain and finish that complements the chosen wood and desired vintage aesthetic. Consider oil-based polyurethanes or shellac for a traditional look.
Tools: A complete set of woodworking tools is essential, including saws, drills, sanders, a router, measuring tape, clamps, and a level.
Safety Equipment: Always wear eye protection, gloves, and a dust mask when working with wood and power tools.
Design & Planning:
1. Concept Development: Determine the desired cabinet dimensions, taking into account the size and quantity of firearms to be stored. Consider a multi-tiered design with adjustable shelves for flexibility.
2. Sketching and Planning: Create detailed sketches or diagrams of the cabinet's exterior and interior. Note measurements for each component, including doors, shelves, and dividers.
3. Material Selection: Choose wood species based on aesthetics, durability, and budget. Consider incorporating reclaimed or salvaged wood for a unique vintage touch.
4. Hardware Selection: Select hinges, latches, and locks with a vintage aesthetic and robust construction. Ensure the lock is secure and provides multiple keys for safekeeping.
Construction Process:
1. Cutting & Assembling the Frame:
Cut the lumber for the cabinet sides, top, bottom, and front using a table saw or miter saw.
Ensure all cuts are precise and at right angles for a sturdy frame.
Use wood glue and screws or dowel pins to join the frame components.
Clamp the frame securely during assembly to ensure a tight fit.
2. Adding the Back & Bottom:
Cut the plywood panels for the back and bottom to fit the frame precisely.
Attach the back panel using wood glue and nails or screws.
Secure the bottom panel to the frame using screws or pocket holes.
3. Constructing the Doors:
Cut the lumber for the door panels to the desired size and shape.
Join the panels using wood glue and screws or dowel pins.
Attach decorative molding around the edges of the doors for a classic look.
Use a router to create a raised panel effect on the doors for added detail.
4. Installing the Hinges and Latch:
Position and attach the hinges to the doors and cabinet frame, ensuring smooth opening and closing.
Install the latch on the cabinet frame, ensuring proper alignment with the door.
5. Creating the Shelves:
Cut plywood for the shelves to the desired width and depth.
Attach adjustable shelf supports to the cabinet sides for easy customization.
Install the shelves securely on the supports, ensuring even spacing.
6. Adding Dividers and Interior Features:
If needed, add plywood dividers to create smaller compartments for separate firearm storage.
Consider installing a felt-lined drawer for storing accessories.
Include a lockable compartment for ammunition storage.
7. Finishing Touches:
Sand the entire cabinet thoroughly with progressively finer grits of sandpaper for a smooth surface.
Apply stain and finish to the cabinet, following manufacturer instructions for best results.
Allow the finish to cure completely before handling the cabinet.
8. Installing the Lock:
Drill a hole in the cabinet door to accommodate the lock.
Securely attach the lock to the door and frame.
Test the lock to ensure smooth operation and secure functionality.
Adding Vintage Charm:
1. Hardware Selection:
Opt for antique-style hinges, latches, and locks in brass or iron.
Consider adding decorative handles or pulls to the doors.
2. Finishing Techniques:
Use a distressed finish to simulate the aging process of vintage furniture.
Employ techniques like faux painting or antiquing to add character and depth to the cabinet's appearance.
3. Decorative Accents:
Incorporate decorative metal accents, such as a brass nameplate or engraved plaque.
Add a vintage-style clock or antique-looking hardware for a unique touch.
Safety Considerations:
Secure Mounting: Securely mount the cabinet to the wall or floor for added stability and security.
Fire-resistant Materials: Consider lining the interior with fire-resistant materials to minimize the risk of damage during a fire.
Childproofing: Install childproof locks and ensure the cabinet is inaccessible to children.
Proper Storage: Always adhere to local firearm storage laws and regulations.
Conclusion:
Building a vintage wooden gun cabinet is a rewarding project that combines craftsmanship with a touch of nostalgia. By following this detailed guide, you can create a bespoke cabinet that blends functionality, safety, and timeless elegance. Remember to prioritize safety and quality throughout the construction process, and enjoy the satisfaction of creating a lasting legacy piece for your home.
0 comments:
Post a Comment