Tuesday, November 12, 2024
Guide to crafting a desk for students using basic woodworking

Crafting a Desk for Students: A Beginner's Guide to Basic Woodworking
Building a desk for your student is a rewarding project that blends creativity and practicality. With basic woodworking skills and the right tools, you can craft a sturdy and stylish desk that will inspire learning and organization. This guide will take you step-by-step through the process, empowering you to create a custom piece of furniture that perfectly suits your student's needs.
Choosing Your Materials and Tools
Before you begin, gather the necessary materials and tools. For a beginner, a simple design using plywood or MDF (medium-density fiberboard) is recommended. These materials are readily available, affordable, and easy to work with.
Materials
- Plywood or MDF sheets (thickness depending on desired desk height and sturdiness)
- Wood glue
- Wood screws (appropriate size for materials)
- Sandpaper (various grits for smoothing and finishing)
- Wood stain or paint (optional)
- Protective finish (polyurethane, wax, etc., optional)
Tools
- Measuring tape
- Pencil
- Circular saw or jigsaw (for cutting wood)
- Drill with assorted drill bits
- Screwdriver
- Clamps
- Safety glasses and dust mask
Planning Your Design
Decide on the size and shape of your desk. Consider your student's needs, available space, and personal preferences. For a basic design, think about the dimensions of the desktop, the height of the legs, and any additional features like shelves or drawers.
You can find free desk plans online, or create your own design based on your measurements. Sketch out the design on paper, labeling dimensions and marking the locations of cuts and assembly points. This visual guide will be invaluable during construction.
Cutting and Assembling the Desk
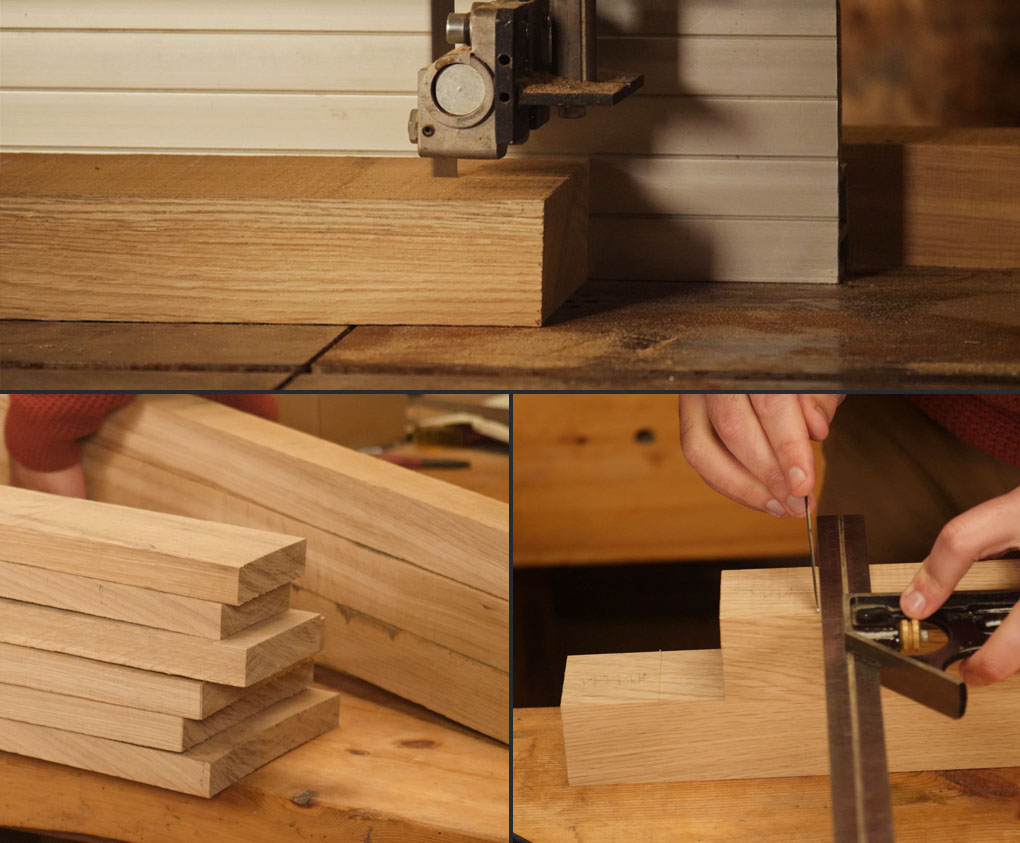
With your design finalized, start by cutting the wood to size. Carefully mark and measure each piece before making cuts. Use a circular saw or jigsaw for precise cuts, ensuring safety by wearing protective gear.
After cutting all the pieces, assemble the desk. Start with the frame, attaching the legs to the desktop using wood glue and screws. Ensure all corners are square and aligned before securing with screws. If you're adding shelves or drawers, assemble those components separately and then attach them to the main frame.
Sanding, Finishing, and Personalization
Once assembled, sand the entire desk to create a smooth surface. Use a coarse grit sandpaper to remove any rough edges and a finer grit to achieve a polished finish. This step prepares the desk for staining or painting, if desired.
If you choose to stain or paint the desk, apply these finishes according to the manufacturer's instructions. Be sure to protect surrounding areas from spills and let the finish dry completely. Adding a protective coating like polyurethane or wax will enhance the desk's durability and lifespan.
For personalization, consider adding details like decorative molding, handles, or paint accents. You can also personalize the desk further by adding a nameplate or a motivational quote to inspire your student.
Safety First
Woodworking involves sharp tools and power equipment. Safety should always be your top priority. Wear protective gear, such as safety glasses and a dust mask, and operate tools with caution. Take your time, follow instructions carefully, and never work when tired or distracted.
Enjoy Your Creation
Congratulations! You've successfully crafted a desk that will serve your student for years to come. You can take pride in your accomplishment and the personalized touch you've added. This desk will be a constant reminder of your dedication and love for your student, and a symbol of the learning and creativity that it will inspire.
0 comments:
Post a Comment